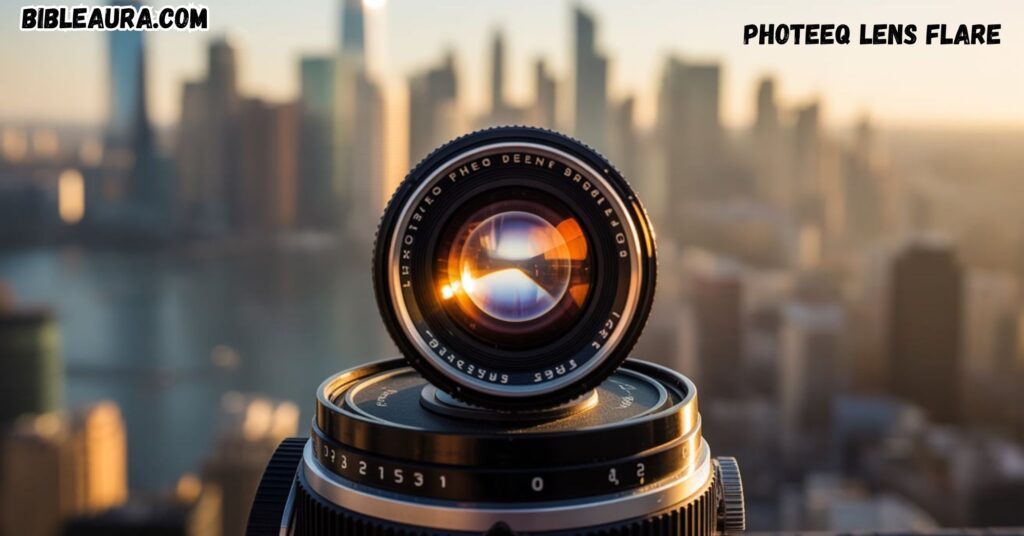
Lens flare isn’t just a flaw it’s a storytelling tool. When used intentionally, it can transform an ordinary image into a cinematic masterpiece. Enter Photeeq Lens Flare, a powerful plugin that allows photographers to harness the beauty of light in their edits.
In this guide, we’ll explore how to master Photeeq’s lens flare effects, from understanding its features to integrating it seamlessly into your workflow.
Understanding Photeeq Lens Flare
Photeeq Lens Flare is a digital effect plugin designed to simulate the scattering of light within a camera lens. Unlike traditional lens flares caused by direct light sources, Photeeq offers precise control over the intensity, color, and position of the flare, allowing for both realistic and creative applications.
Key Features
- Customizable Flare Shapes: Choose from various preset shapes or create custom flare beams to suit your image.
- Color and Intensity Control: Adjust the brightness, saturation, and hue to match the mood of your photo.
- Positioning and Scaling: Place the flare anywhere in the frame and scale it without losing quality.
- Layer-Based Editing: Apply flares on separate layers for non-destructive editing and easy adjustments.
Common Lens Flare Problems and How to Avoid Them
While lens flare can enhance an image, improper use can lead to distracting artifacts. Here are some common issues and tips to avoid them:
Overexposure
Problem: Excessive brightness can wash out details.
Solution: Use Photeeq’s intensity control to fine-tune the flare’s brightness, ensuring it complements the image without overpowering it.
Misplaced Flare Origin
Problem: Flares that don’t align with the light source can appear unnatural.
Solution: Position the flare to match the light source’s location in the image, maintaining realism.
Color Shifts
Problem: Unnatural color tones can disrupt the image’s harmony.
Solution: Adjust the color temperature and balance settings in Photeeq to match the overall color grading of the photo.
Adjusting Photeeq Flare Settings for Optimal Results
To achieve the best results with Photeeq Lens Flare, consider the following settings:
- Intensity: Controls the brightness of the flare. Start with a low value and gradually increase to avoid overpowering the image.
- Size: Determines the scale of the flare. Larger sizes can create dramatic effects, while smaller sizes are subtle and realistic.
- Position: Place the flare where the light source is located in the image to maintain authenticity.
- Blend Mode: Experiment with different blend modes to see how the flare interacts with the underlying layers.
Creative Uses of Photeeq Lens Flare
Photeeq Lens Flare isn’t just for correcting exposure issues; it’s a tool for creative expression. Here are some ways to use it creatively:
- Cinematic Portraits: Add a subtle flare to portraits to evoke a dreamy, cinematic feel.
- Sunset Landscapes: Enhance the warm tones of a sunset by adding a flare that mimics the sun’s rays.
- Product Photography: Use flares to highlight specific features of a product, drawing the viewer’s attention.
Post-Editing Workflow with Photeeq Lens Flare
Integrating Photeeq Lens Flare into your post-editing workflow can streamline your process:
- Import Image: Begin by importing your image into your editing software.
- Apply Flare: Use Photeeq to add the desired lens flare effect.
- Adjust Settings: Fine-tune the flare’s intensity, size, and position to suit the image.
- Layer Adjustments: Use layer masks and blend modes to integrate the flare seamlessly.
- Final Edits: Make any final adjustments to color grading, sharpness, and noise reduction.
Conclusion
Mastering Photeeq Lens Flare can elevate your photography by adding depth, mood, and a touch of artistry. By understanding its features, avoiding common pitfalls, and integrating it creatively into your workflow, you can harness the full potential of lens flare effects. Remember, the key is subtlety use flare to enhance, not overpower, your images.
FAQs
Can I use Photeeq Lens Flare with RAW images?
Yes, Photeeq Lens Flare is compatible with RAW images, allowing for high-quality edits without loss of detail.
Does Photeeq Lens Flare work with video footage?
While primarily designed for still images, Photeeq Lens Flare can be used in video editing software that supports its plugin format.
Are there any presets available for quick edits?
Yes, Photeeq offers a variety of presets that can be applied directly to your images, providing a starting point for further customization.
Note: For visual examples and tutorials on using Photeeq Lens Flare, consider visiting Photeeq’s official website.
Read more knowledgeable blogs on Bible Aura
Piper McMillan is a passionate writer and educator dedicated to sharing the beauty and depth of the Bible. As the author behind the Piper McMillan website, she explores Bible verses, unlocks biblical narratives, and provides insights for living a Christ-centered life. Through warm, approachable, and inspiring articles, Piper guides readers to deepen their understanding of Scripture and apply its timeless wisdom to daily living. Her mission is to uplift, educate, and help others walk faithfully with God, rooted in His word.